Blog
Ascending New Heights: A Beginner’s Guide to Essential Climbing Techniques
Climbing is an adventure that links us to a community of like-minded individuals as well as the vertical environment. In this activity, the satisfaction of perfecting your techniques equals the rush of scaling new heights. Climbing demands not only physical strength but also technique, a strong mental approach, and a realization that progress requires time and repetition.
A. Grasping the Basics: First Steps in Climbing
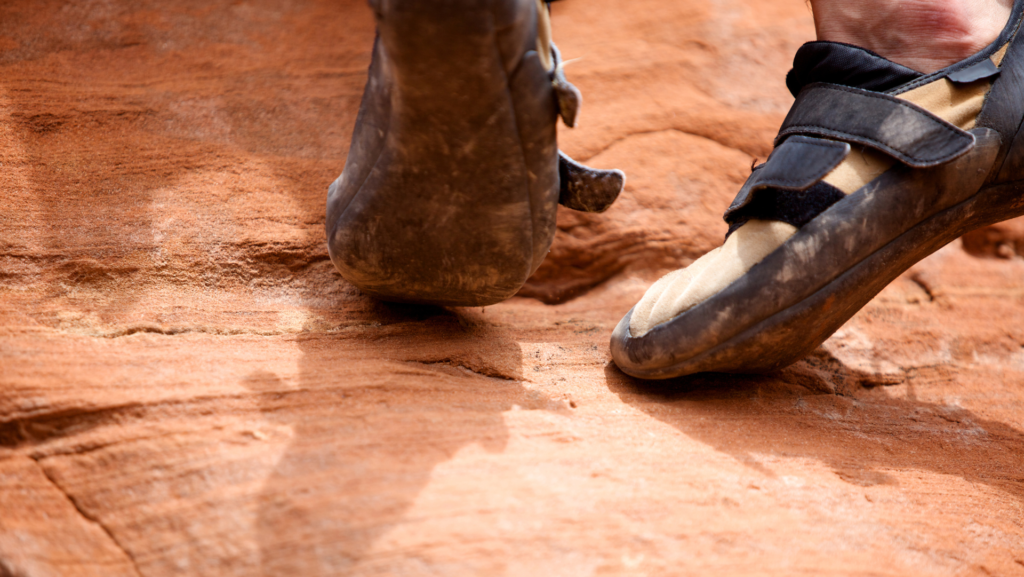
Effective footwork is essential for successful climbing. It involves making thoughtful decisions with meticulous planning for every action. Various footholds—from big jugs to microscopic edges—call for different strategies. The secret is to push forward with your legs while saving your arm strength for when you actually need it.

1. Learn the Footwork Fundamentals
- Edging: To stand on holds, use the outside of your climbing shoe. It is necessary for tiny footholds. Practice shifting your weight to that foot by placing just the toe of your shoe on various grips.
- Smearing: Smearing occurs when there are no clear footholds. To stay up, use friction by pressing the bottom of your climbing shoe on the wall. It takes faith in your shoes and the friction of the wall to use this approach.
- Heel and Toe Hooks: Toe hooks are great for overhangs or situations where you need to free your hands since they allow you to hook your toe around a hold. Heel hooks assist you get up or take a break by using your heel to grab onto something.

2. Handholds and Grip Techniques
a. Learn About the Various Handhold Types
- Jugs: Your entire hand may be wrapped around these huge, comfortable-to-grip containers. They are typically the simplest to grip and are excellent for resting.
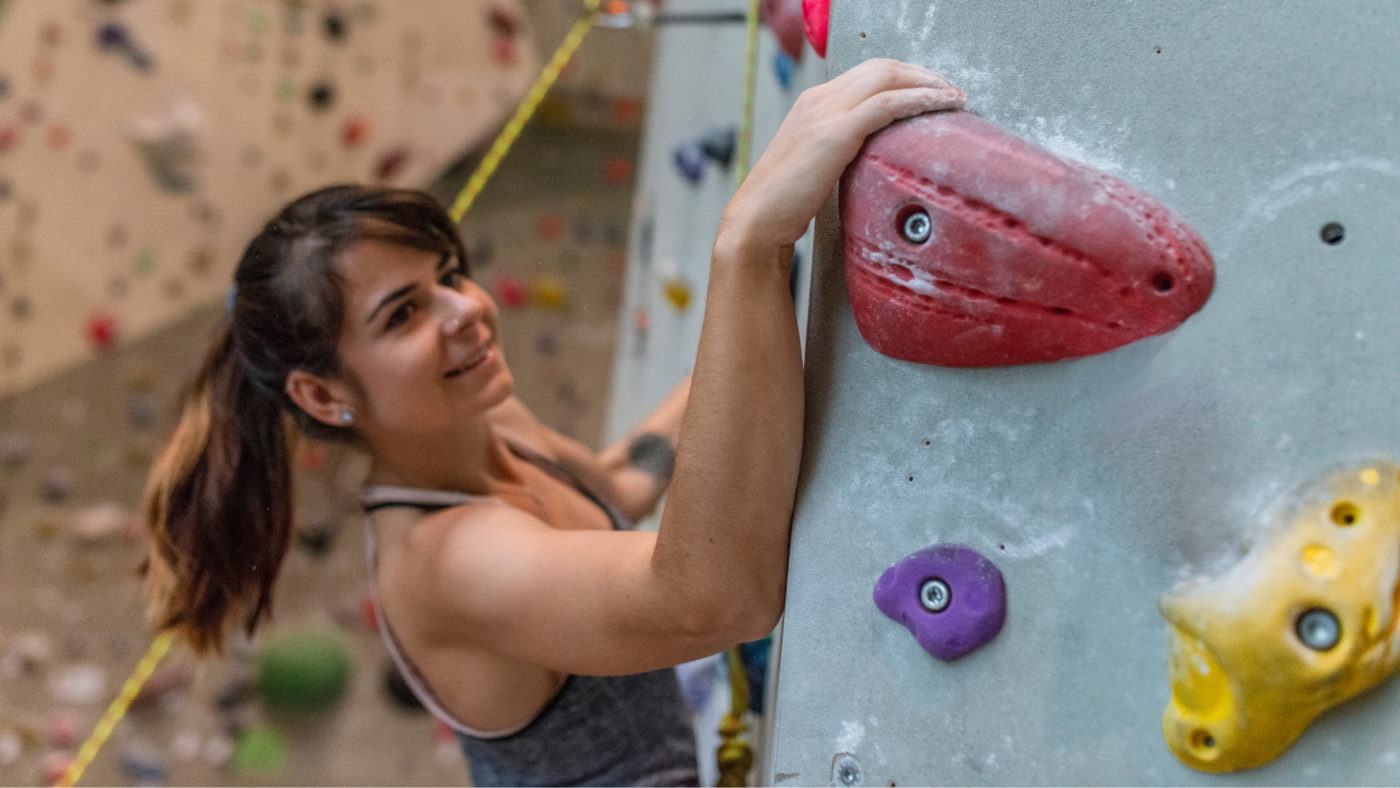
- Edges: Flat holds that you can grasp with the pads of your fingers, edges are smaller than jugs. The size of the edge will determine how you hold it in most cases.
- Crimps: Tiny edges that you can only hold with your fingertip tips. Because crimping can be very painful for your fingers, it’s crucial to utilize this grip carefully and in moderation.
- Slopers: Round grips with little to no edge are known as slopers. They mostly rely on friction and body position, and they call for an open-handed grip.
- Pockets: Caps large enough to accommodate one or more fingers. The number of fingers you can fit into the pocket and its depth determine the grip.
- Pinches: Holds in which your thumb and fingers must be pinched together. Strength in the hands is often a determining factor in how well this grip works.
3. Mastering Grip Techniques
- The Full Crimp entails locking down with your thumb over your index finger after curling your fingers around a hold. Although this can provide you a firm grip on little objects, it puts a lot of strain on your finger tendons, so use caution when using it.
- The half crimp is a less severe variation of the crimp in which the thumb is not positioned over the fingers and the fingers are not completely curled. This hold lowers the chance of getting hurt.
- The Open Hand Grip: This grip is utilized while attempting to conserve energy, on slopers, or on larger holds. You rely on the friction created by your hand and the grasp while keeping it relatively open.
- The Pinch Grip: As the name implies, this technique is using your thumb and fingers to pinch a hold. For grips that are difficult to wrap or crimp, this grip is crucial.

4. Body Positioning and Balance
a. Understanding Center of Gravity
-
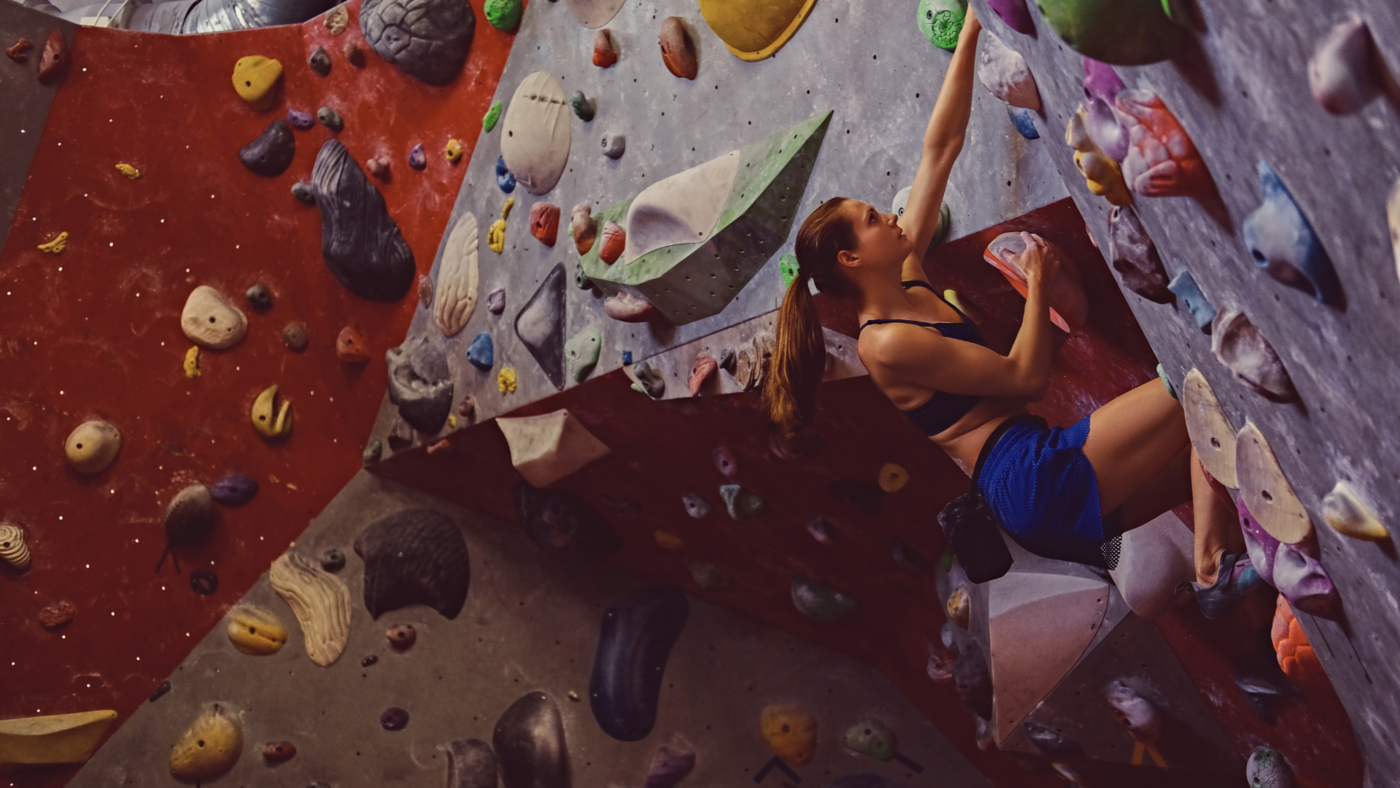
- Your center of gravity is key to maintaining balance. It’s typically located around your core. Keeping your center of gravity close to the wall and over your base of support (usually your feet) helps maintain stability.
- Moving your hips and center of gravity in the direction of your next move can make reaching for the next hold easier and more efficient.
b. The Importance of Footwork in Balance
-
- Good footwork is the foundation of effective body positioning. Place your feet thoughtfully to support your movements and maintain balance.
- Use the technique of “flagging” (placing one foot out to the side, without using a hold) to shift your center of gravity and prevent barn-dooring (swinging out from the wall).
c. Using Your Hips
-
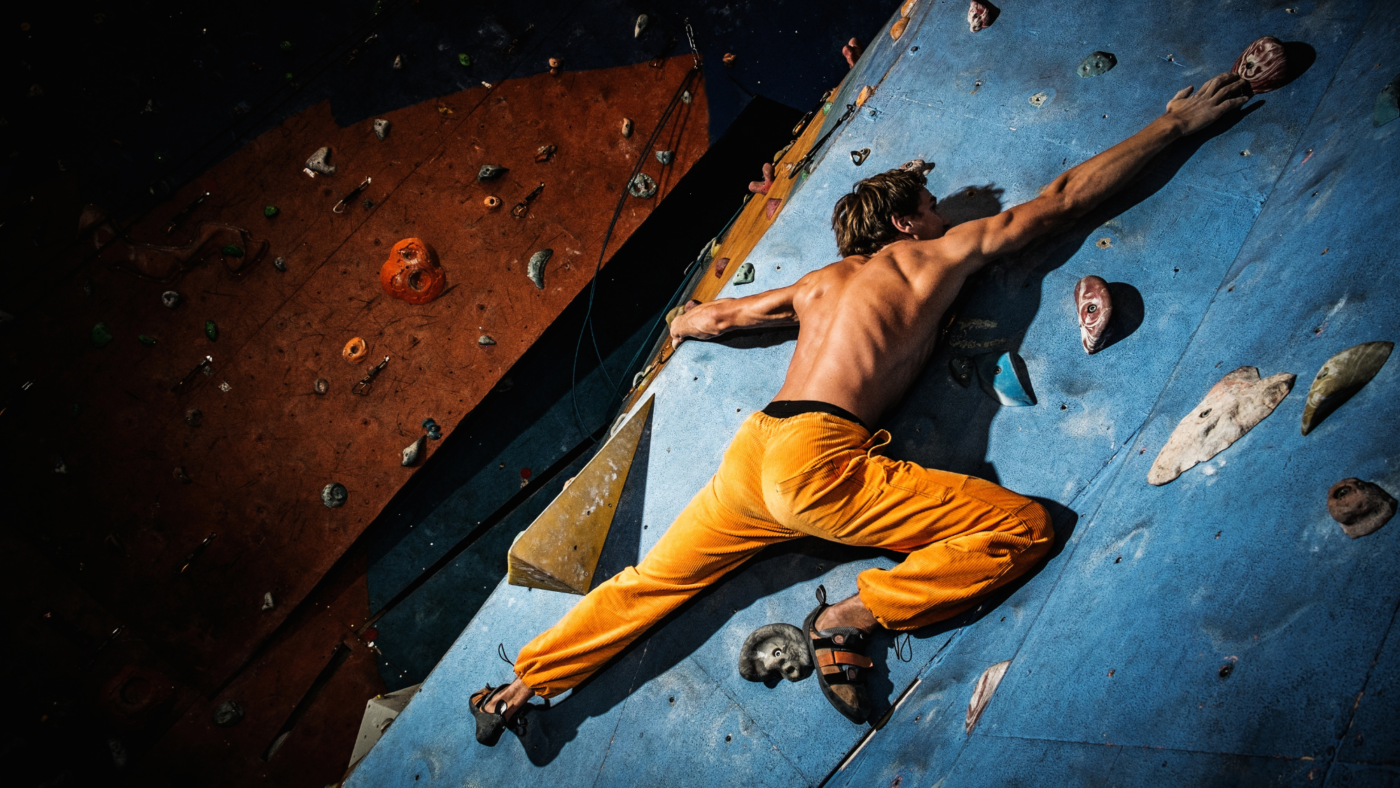
- Bringing your hips closer to the wall can improve your reach and stability. This often means twisting your body so that one hip is closer to the wall, which also extends your reach.
- Learning to rotate and drop your knees can help in maneuvering your body around holds and keeping your center of gravity stable.
d. Arm Positioning
-
- Keep your arms straight whenever possible to conserve energy. Bent arms use more muscle power to maintain.
- Use your hands and arms for balance, and try to pull with your arms only when moving to the next hold.
e. Visualize Your Moves
-
- Before tackling a route, take a moment to plan your moves. This includes considering where you’ll place your feet and how you’ll position your body to maintain balance and efficiency.
- Visualization can help you anticipate how shifts in your center of gravity will affect your balance and how to compensate for those shifts.
f. Practice and Experiment
-
- Spend time on the wall experimenting with different body positions. Notice how small adjustments can make a move easier or harder.
- Practice climbing with fluidity and control, focusing on smooth transitions between holds.
g. Training for Body Awareness
-
- Exercises like yoga and Pilates can improve your body awareness, flexibility, and balance—all of which are beneficial for climbing.
- Core strength exercises are crucial as they provide the stability needed for complex body movements and balance.
h. Learn from Observing and Feedback
-
- Watching experienced climbers can provide insights into effective body positioning and movement strategies.
- Don’t hesitate to ask for feedback from more experienced climbers or instructors. They can offer valuable tips on improving your technique.
i. Stay Relaxed
-
- Tension can make it harder to maintain balance and move efficiently. Try to stay relaxed, especially in your grip, shoulders, and neck.
- Breathing deeply and regularly can help manage tension and focus your mind.

B. Mastering the Wall: Essential Climbing Moves
1.The Mantle
What It Is: When pulling up on a ledge or large hold is difficult, one technique used to overcome it is called the mantle. Mantling is essentially the same motion as pushing yourself out of a swimming pool.
- Reach the Ledge: First, extend one hand to the ledge or substantial grip.
- Adjust Your Weight: Try to shift as much of your weight onto the hand perched on the edge. Your hand should be pressing down on the ledge as your fingers are over its edge.
- Raise the Other Hand: Lift the other hand up to the ledge with caution. Press down with both hands while extending your arms straight.
- Engage Your Legs: Lift your feet up after your arms are straight and you’re leaning against the wall like a plank. Look for a solid surface to apply pressure to.
- Push Up: Raise your chest and raise a leg onto the ledge by using your arms like pistons. You can then stand there.
2.The Dyno
What It Is: Jumping or flinging oneself from one hold to another when they’re too far apart to reach by stretching is known as a dynamic maneuver, or dyno. It involves applying velocity to bridge hold gaps.
- To prepare, first decide which hold (the goal) you want to jump to and where you want to land your feet firmly (the launchpad).
- Lower Down: Lower your body by bending your knees and coiling like a spring. You should be prepared to extend by having your arms bent.
- Explosive Launch: To launch yourself upward at the target hold, push off with your legs while simultaneously pulling with your arms.
- Catch the grip: Make an effort to use both hands to seize the target grip. As soon as you make contact, your grasp should be ready to tighten.
- Control the Swing: There will be a swinging motion as soon as you grab grasp of the object. To stabilize oneself, contract your core and search for footholds.
